
What is Lesson Planner?
The built-in lesson planner allows teachers to strengthen their intentional teaching practices and build daily and weekly plans based on their unique daily schedules. Administrators can review, approve, and edit plans. Create a rich library of instructional activities that can easily be shared and reused. All lessons can be connected to your specific curriculum frameworks, state standards, or even the COR Advantage assessment items.
Table of Contents:
- Accessing Lesson Planner
- Setting Up Your Classroom Schedule
- Adding and Editing Lessons
- Search for Lessons
- Removing Lessons
- Sharing your Lessons
Accessing Lesson Planner
You can access Lesson Planner from your tablet or from the website my.kaymbu.com by going to Menu > Lesson Planner. Lesson Planner is accessible for Standard and Pro subscriptions. If you have questions about your account or plan subscription, please reach out to us at help@kaymbu.com.
Setting Up Your Classroom Schedule
You can edit your classroom schedule sections at any time! Please note that each week will lock on Sunday night, preserving the setup and work you did during that period. Therefore, you will want to make any section changes on Monday morning to avoid losing any lessons! When you first access this feature, this is what you will see:
In the far left column are default sections, and in the planner, you'll see plus signs, where you can add in all of the lessons for each day by section.
You'll first want to change the sections to reflect how your day is organized. Editing this column will change the Lesson Planner for everyone in your classroom. Click on the grey pencil next to Sections to rename, move, and delete the default offerings.
Adding and Editing Lessons
To add a lesson, click on any plus sign. Users will be presented with two options: create a new lesson or search through all of the previous lessons that have been created in your classroom to be used again!
To create a new lesson, select “Create Lesson.” From here, a pre-designed template will allow you to structure and organize your lesson easily. The different sections that are included in the lesson template are listed below. Please note that a lesson name is required when filling out the template. All other sections are optional, and any unused sections of the template will not be shown when a user views or prints out a completed lesson.
- Lesson Name and Description: Give your lesson a clear and descriptive title that reflects the content. Write a brief description of the lesson, explaining what students will learn or achieve.
- Tags: Add relevant learning or curriculum tags. Lessons can be connected to your school’s specific curriculum framework, state standards, or even the COR Advantage assessment items.
- Preparation: Outline what you need to do before delivering the lesson. Include any pre-lesson preparations, such as setting up equipment, preparing handouts, or reviewing materials.
- Steps: Plan the structure of your lesson. Break down the lesson into clear and sequential steps.
- Individualization: Explain how you will cater to the individual needs and learning styles of your students. Describe any accommodations or modifications you plan to make for learners with different abilities or preferences.
- Materials: List all supplies required for the lesson, such as textbooks, handouts, manipulatives, etc.
- Supporting Resources: Provide links or references to additional resources that can enhance the lesson or provide further learning opportunities. These could include websites, articles, videos, or books related to the topic.
- Attach file: Upload files such as documents, images, presentation slides, or worksheets.
Search for Lessons
Users now have the ability to streamline their lesson planning with the newly enhanced Lesson Planner search tool! To search through and choose from your database of previous lessons, click on a plus sign from the lesson grid and select “Search Lessons.” You can search lessons by title, apply specific tag filters, or seamlessly combine both methods for precise results. Please note that searched keywords will exclusively apply to lesson titles. Each search result will include the lesson title, a detailed description, and any assigned tags, making it even easier to find the appropriate lesson. Once you find the lesson you are looking for, simply click into the lesson, select “Add to Plan,” and the lesson will appear on the lesson grid.

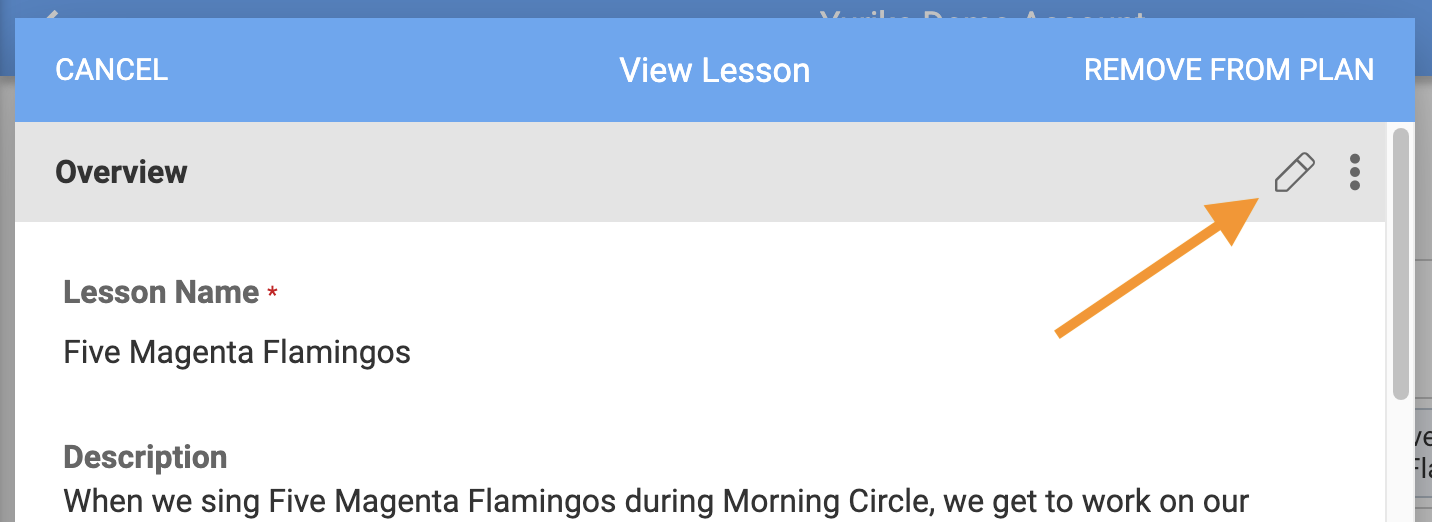
Users also have the ability to view or edit past lessons at any time. To do this, select a lesson, then click on the pencil icon in the top right corner. Please note that when editing a previous lesson, all changes will be implemented in the previous versions used in past weeks, and the changes will also apply to the lesson moving forward.
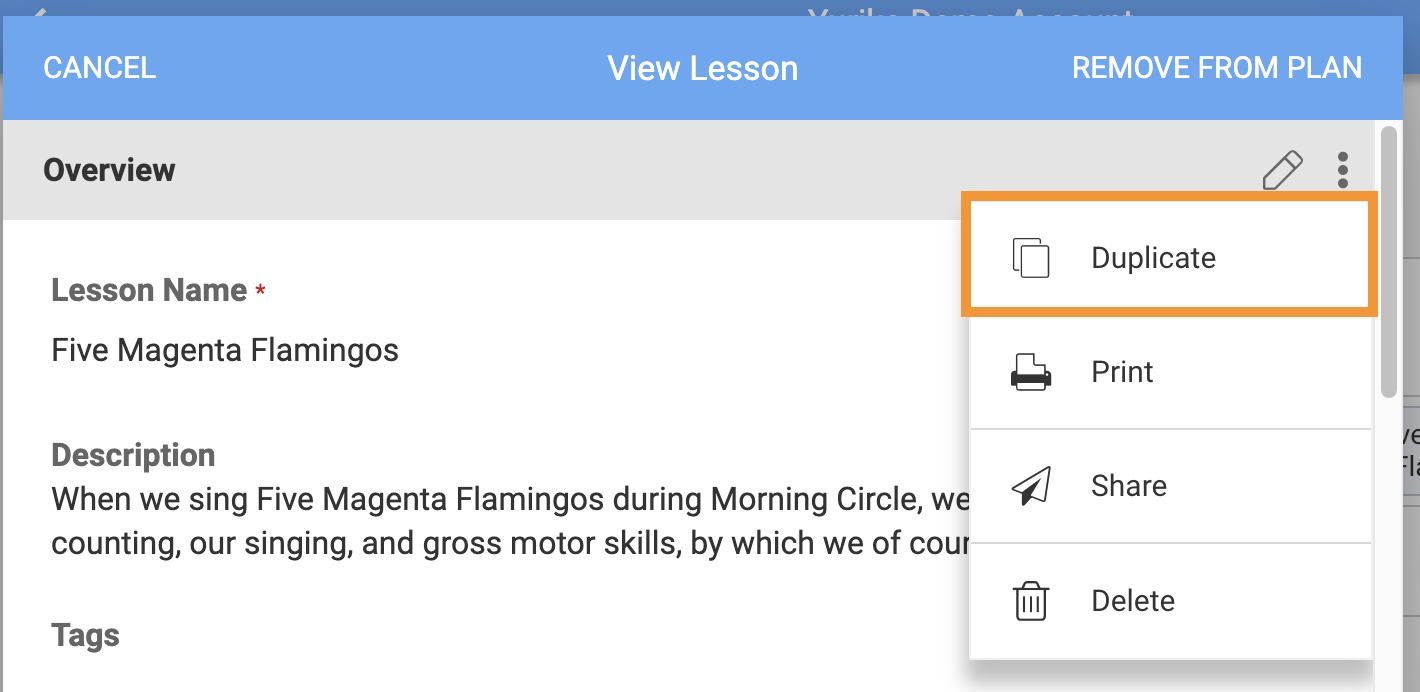
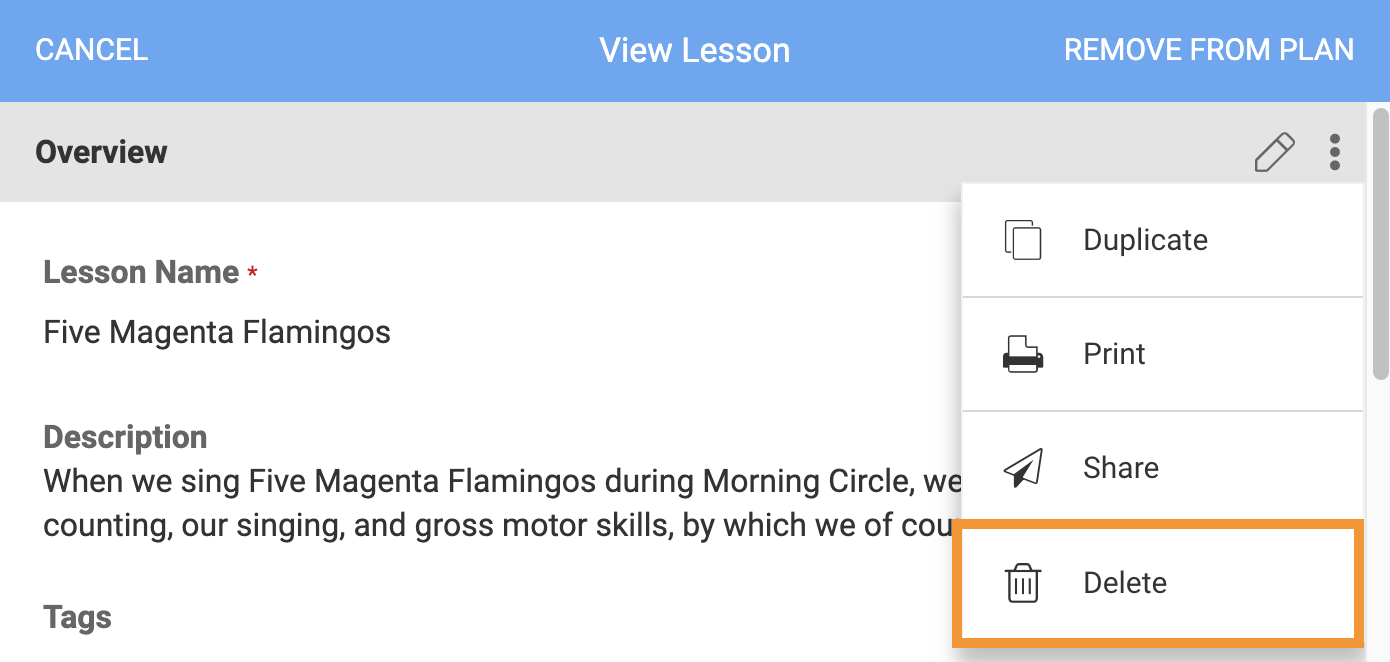
To edit or modify a lesson without affecting previous versions, we suggest creating a duplicate copy of the original lesson. This allows lessons to be edited without making changes to the content of the original version. To duplicate a lesson, select a lesson, then click on the three dots in the top right corner, and select “Duplicate.” This will create a separate copy of the original lesson, which users can then modify.
Removing Lessons
Users have two options when it comes to removing content from the Lesson Planner:
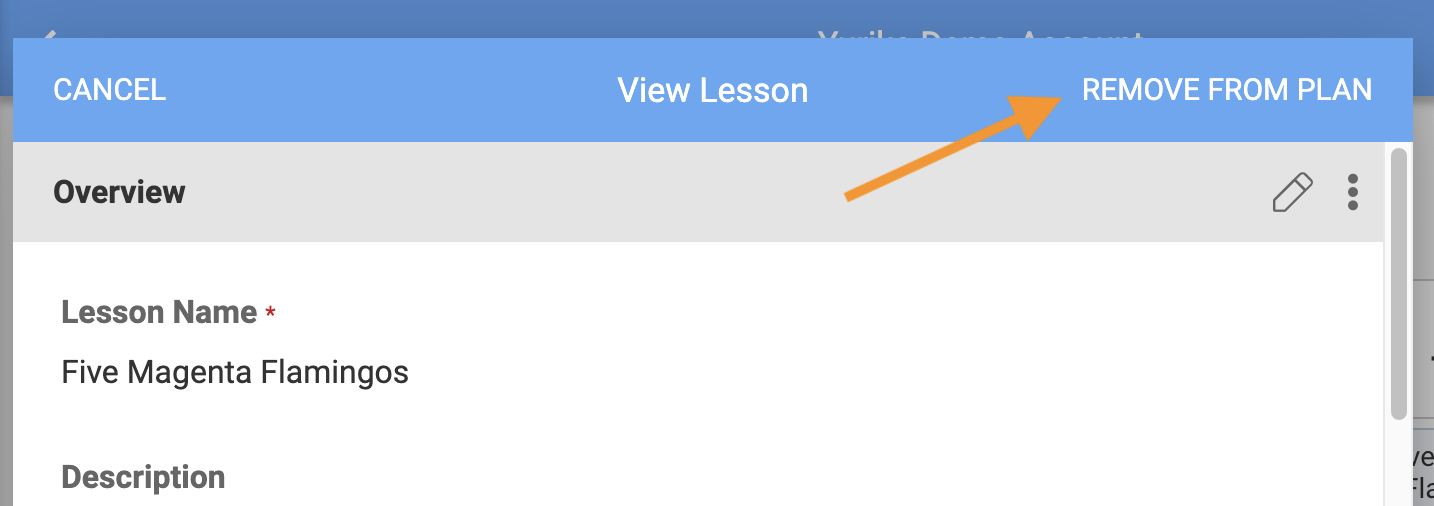
- Remove From Plan: The lesson will be removed from the grid itself but will remain in your lesson plan database. To remove a lesson, select “Remove From Plan,” located in the top right corner when viewing a lesson.
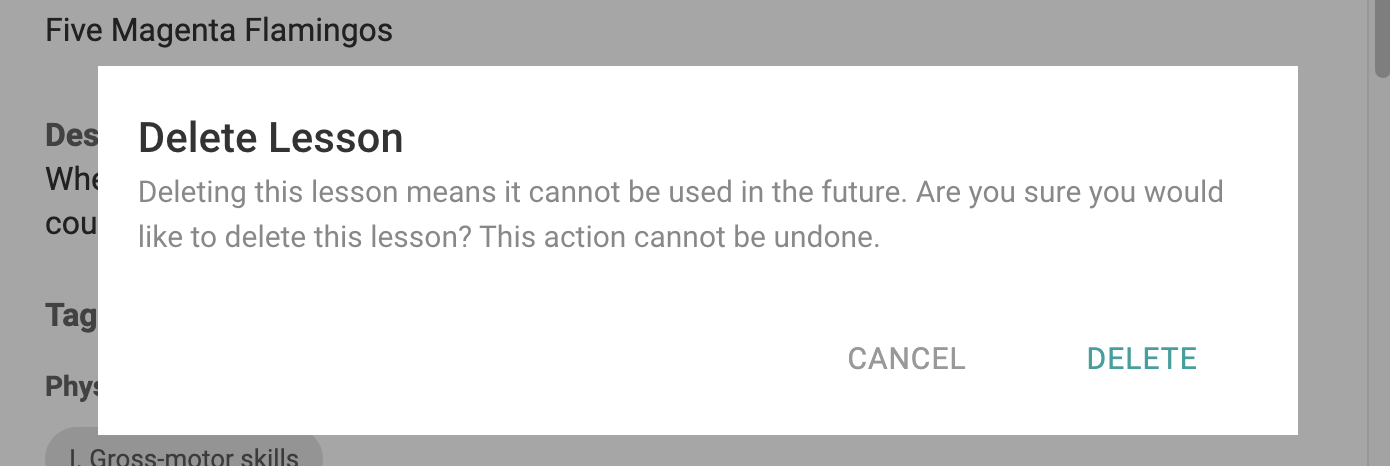
- Delete: The lesson will be permanently removed from the system. Deleted lessons cannot be restored or recovered once this action is performed. To delete a lesson, select the three dots located in the top right corner when viewing a lesson, and click “Delete.”
Sharing Your Lessons
Prepare for your day and week with customizable print views. Print and share weekly and daily summaries, full lessons, or even generate a supply list based on all the materials in your lesson plans for the day or week.
To print your lessons or materials list, simply click on the printer icon located in the top right corner of the page. To share your lessons with your families, select the paper airplane icon. You'll be able to share your daily lessons, a weekly summary, and even your supply list for the week!
In addition to printing and sharing copies of your lesson plans, you can also choose to download a PDF version of your lessons. To do so, click on the three dots at the top right corner of the page and select “PDF”.
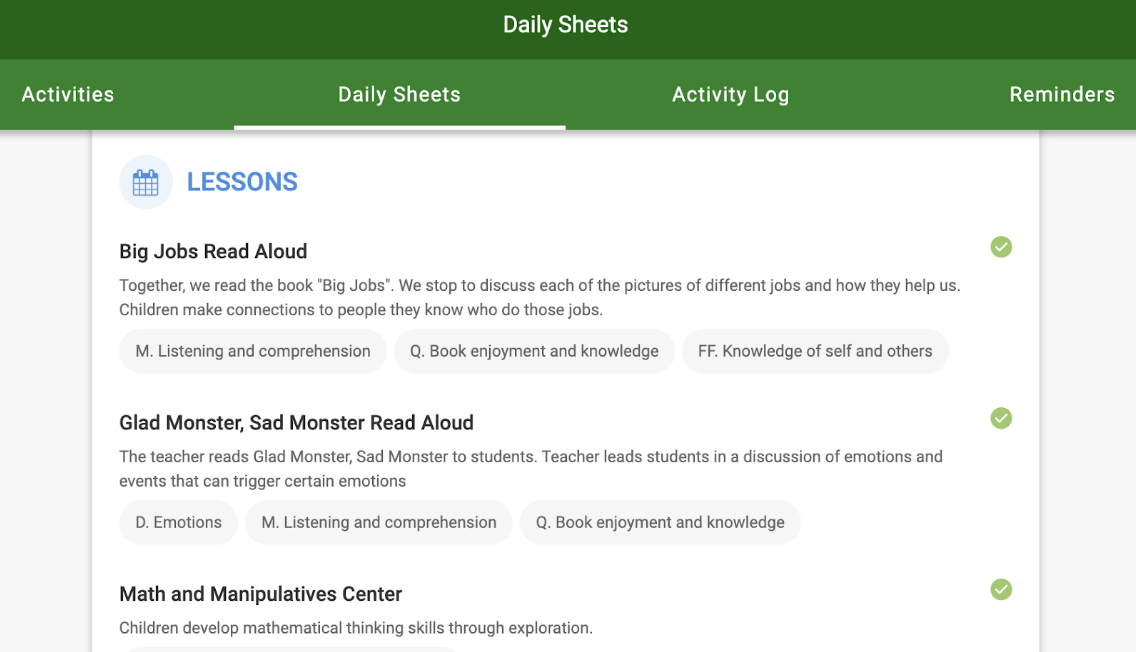
For users who are currently subscribed and have access to the Daily Sheet Digest feature, lessons are automatically included in students’ Daily Sheets after they have been entered in the Lesson Planner for that specific day. When sharing your lessons with families, the lesson name, a description of the lesson, and any relevant tags will auto-populate on the Daily Sheet Digest. To learn more about adding lessons to Daily Sheets, click here. If you are interested in including Daily Sheets as part of your subscription or want to activate the Daily Sheet Digest, you can reach out to us by contacting help@kaymbu.com.
Lesson and Material List Layouts
On the Kaymbu platform, users have customizable options when printing, downloading, or sharing lesson plans. You can choose from a handful of different layouts, including Weekly Summary, Daily Summary, Daily Lessons, or a Weekly Materials List.
Weekly Summary
When selecting the Weekly Summary layout, a brief overview of each lesson assigned throughout the week is populated in a grid-style format. You can choose to include the title of the lesson, the description of the lesson, and/or applicable learning standard tags.
Daily Summary
The Daily Summary layout populates all lessons for each day of the week or for a selected day. An overview of the lesson, which includes the lesson title and description, will be listed for each selected day(s).
Daily Lessons
The Daily Lessons layout provides a more detailed view, as it includes the lesson title, description, applicable learning standard tags, steps for preparation and instruction, as well as required lesson materials. You will have the option to populate all lessons for each day of the week, or you can choose to select specific days.
An “Additional Planning Notes” section is also included after each lesson to accommodate any manual notes that may need to be added when printing Daily Lessons.
Weekly Materials List
The Weekly Materials List populates a list of all lesson materials needed throughout the week. You can choose to group the materials by day or by material.
Comments
0 comments
Please sign in to leave a comment.